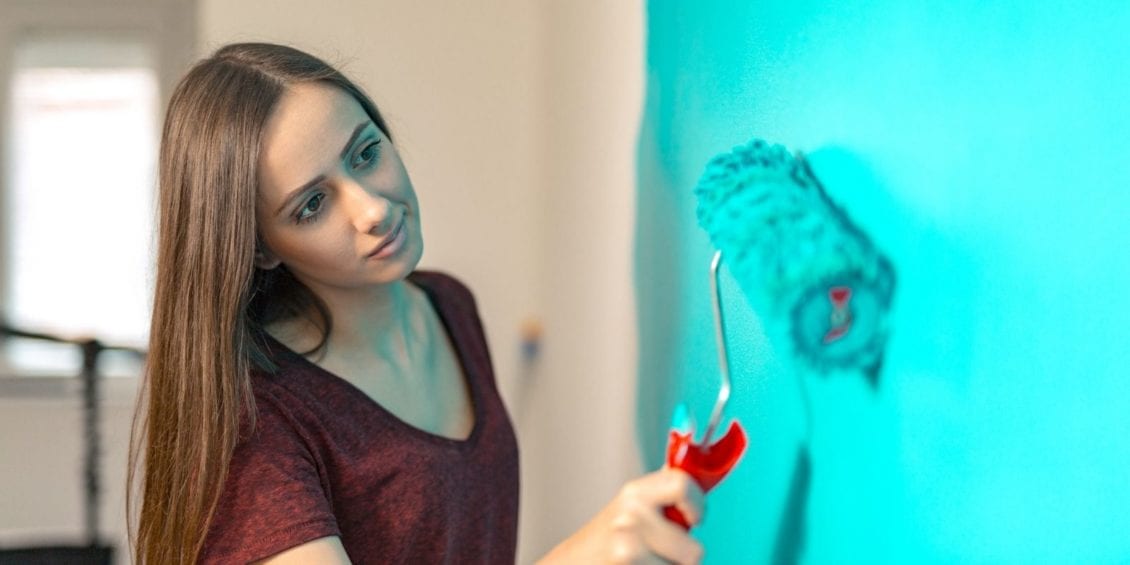
There’s something deeply satisfying in standing back at the end of a DIY project and seeing a job well done. But wrinkles, spills, uneven grout and wonky lines can make the results look more amateurish than high end. If you want your DIY efforts to look more polished, then help is at hand, with a little bit of help you can do anything you want, from painting and wallpaper to dry lining or even bigger jobs, your possibilities are endless.
We have some top tips for giving your DIY projects the most professional finish.
Make masking tape your best friend
We all know prep is top of the list when it comes to DIY, but it can be tempting to take shortcuts when you want to get a job done. However, all the professionals know that taking the time to properly mask off areas before painting is time well spent and ensures a clean finish as well as less scraping to remove any wobbly lines. So, painter’s masking tape really is a DIYer’s best friend if you want to create a stunning, professional finish.
Cut in first when painting
Nothing shows up a rushed painting job than uneven, patchy edges, whether that’s around windows and along skirting boards or where your wall meets the ceiling. But the simple, yet effective technique of ‘cutting in’ gives that sharp, professional finish you are looking for. To cut in, you need to brush paint along where edges meet before you start painting the full wall. For the best results, add an angled brush to your toolbox, as it gives you greater control. And for the cleanest line, work towards the corner.
Remove handles and hardware
When upcycling a piece of furniture or painting a door, don’t be tempted to leave on the handles or hardware before you start painting as you won’t get a good finish. Even with masking tape, paint will pool around the handle or hinge, and can spill onto the hardware itself. But removing the drawer or door furniture, including any keyhole plates, means you can paint seamlessly across the surface, then re-fix the hardware once the paint is dry for a flawless finish.
Get perfect surfaces
Prevent flaws showing through your decorating by prepping surfaces before you start painting. What you may think will be an invisible scratch or crack is more than likely going to show when the paint has dried, potentially spoiling the look. So, before painting any walls, check the surface carefully and use interior filler to erase any defects. Leave to dry then sand back for a smooth finish then paint for a flawless finish any interior designer would be proud of.
Make wallpaper joins ‘disappear’
While you may not be a DIY miracle worker, you can be a bit of a magician, especially when it comes to hanging ‘seamless’ wallpaper. If not done properly, the joins in your new wallpaper can attract unwanted attention, when it is the pattern or colour that should be the star of the show. To make those unsightly joins disappear, choose a low-key location of your room for the first and last strip of wallpaper and so the final seam. The pattern or weave of the final strip doesn’t always line up or match the first strip so locating this final seam inconspicuously (behind or above a door or the furthest corner of the room, for example) will make the join so much less noticeable. A simple but effective trick, when it comes to mastering your DIY!


Leave a Reply
View Comments